- Email: jasper@dtooilseal.com
- WhatsApp: +86 183 3255 8601
Nissan Differential, Pinion and Axle Oil Seals: How to Tell Them Apart
When a Nissan differential, pinion, or axle seal begins to leak, the fastest solution is to identify the seal by its location, dimensions, shaft function, and oil exposure—not by appearance alone. In this guide, we at Dingtong, an experienced Automotive Oil Seal manufacturer, explain a simple five-step method to identify the correct Nissan oil seal, confirm the replacement specification, avoid installation damage, and reduce repeat leakage.
!
Nissan driveline assemblies may use several oil seals that look similar but operate under different conditions. A differential side seal, pinion seal, and axle seal can all be made from elastomeric rubber with a metal case, yet their:
Installing the wrong seal can cause immediate leakage, abnormal bearing lubrication, differential oil loss, or premature failure of the ring-and-pinion assembly. For a repair shop, fleet operator, or Nissan Oil Seal Supplier, accurate identification prevents comebacks and unnecessary downtime.
Dingtong supports dimensional control with measurement accuracy down to 0.01 mm, while production inspection programs can include 100% visual inspection and sampling-based dimensional verification according to customer requirements.
The most reliable method is to begin with the seal’s position in the drivetrain.
The differential side oil seal is installed where the axle shaft or CV axle enters the differential housing. On independent suspension systems, it is commonly located at the left or right differential output.
Its primary functions are to:
Typical symptoms include gear oil around the differential output, wetness near the inner CV joint, or oil spreading along the axle shaft.
A differential side seal is usually identified by the following characteristics:
The pinion oil seal is installed at the front of the differential, around the pinion yoke or flange. The pinion shaft transfers torque from the driveshaft into the differential gearset.
This seal operates in a demanding environment because the pinion rotates at high speed and may experience shaft runout, vibration, and temperature variation. Its function is to retain differential oil at the pinion flange while excluding external contaminants.
Common pinion seal symptoms include:
A pinion seal is different from an axle seal because it normally seals a pinion yoke or flange, not an axle shaft. During replacement, the pinion nut preload is critical. Incorrect tightening can alter bearing preload and lead to gear noise or premature bearing damage.
The term “axle oil seal” can refer to different locations depending on the Nissan platform. It may describe a seal at the axle housing, wheel-end assembly, or differential output. Therefore, the application and housing design must be confirmed before ordering.
An axle seal generally:
A leaking axle seal may leave lubricant near the backing plate, wheel hub, brake rotor, or axle tube. If oil reaches brake friction material, the brake components may require cleaning or replacement rather than simple seal renewal.
| Seal type | Installation location | Sealed component | Typical leakage area | Main replacement concern |
|---|---|---|---|---|
| Differential side seal | Differential output housing | CV axle or output shaft | Inner CV joint or differential side | Correct bore, outside diameter, and installation depth |
| Pinion oil seal | Front of differential | Pinion yoke or flange | Differential nose and driveshaft area | Pinion nut torque and bearing preload |
| Axle oil seal | Axle housing or wheel-end area | Axle shaft | Axle tube, hub, backing plate, or brake area | Shaft condition and brake contamination |
| Transfer-case output seal | Transfer-case output | Driveshaft or flange | Transfer-case tail housing | Output shaft wear and seal orientation |
This table is a starting point, not a substitute for VIN, part-number, or dimensional verification.
Clean the suspected area with an approved parts cleaner and allow it to dry. Then inspect the vehicle after a short road test or several minutes of operation.
Look for:
Differential gear oil typically has a strong sulfur odor, but odor alone should not determine the diagnosis. Engine oil, transmission fluid, and differential lubricant can migrate across housings and create a false leak location.
Record whether the seal is located at:
Take clear photographs before disassembly. Include the surrounding housing, flange, shaft, and any casting or part number. This information is especially useful when working with a Nissan Oil Seal Supplier.
Remove the seal carefully without scoring the housing, then measure:
For an oil seal, the basic size is often written as:
Inside diameter × outside diameter × width
For example, a nominal size may be expressed as 45 × 68 × 10 mm, but the exact Nissan application must still be confirmed. A 0.01 mm measurement capability is valuable when distinguishing similar seal sizes, but the shaft itself must also be inspected for wear.
Measure the shaft at several positions. A worn seal track may create a groove that is narrower than the original shaft diameter. Replacing the seal without correcting the worn surface can result in continued leakage.
Do not select a seal by size alone. Confirm the design features:
A standard nitrile seal may be suitable for many conventional differential oils, while a fluoroelastomer compound may offer improved resistance to higher temperature and aggressive lubricant chemistry. The final material must match the lubricant, operating temperature, speed, and environmental exposure.
As an Automotive Oil Seal manufacturer, we recommend reviewing the application together with the material specification rather than treating the rubber compound as a generic choice.
Before ordering, compare the following information:
For export orders, provide photographs and technical drawings to the supplier. A professional Nissan Oil Seal Supplier should be able to clarify tolerances, material options, packaging, and compatibility rather than relying only on a visually similar sample.
Correct identification is only half the repair. Installation errors are a major cause of premature oil seal failure.
Before installing the replacement seal:
A blocked axle or differential breather can create internal pressure and force lubricant past a new seal.
Apply a light film of compatible differential oil to the sealing lip. Do not install a dry seal. Use a seal driver that contacts the rigid outer case or approved installation surface.
The seal should be:
If the shaft has splines, use a clean protective sleeve or suitable wrap to prevent the lip from being cut during installation.
Pinion seal replacement requires additional care. On many differential assemblies, the pinion nut influences bearing preload. Before removal, follow the applicable service procedure and record the existing position or rotational resistance where required.
Avoid simply tightening the nut until the mark lines up unless the manufacturer’s procedure specifically permits it. Excessive preload can damage bearings, while insufficient preload can cause backlash changes, noise, or premature gear wear.
When purchasing Nissan seals in volume, buyers should evaluate the supplier’s technical controls, not only the unit price.
A qualified Automotive Oil Seal manufacturer should be able to discuss:
Relevant industry references may include:
These standards should be used accurately. A supplier should state whether a product is tested according to a standard, designed with reference to it, or manufactured within an ISO-certified quality system.
At Dingtong, inspection plans can be configured for the application, including first-article inspection, sampling inspection, and 100% visual inspection. For urgent technical inquiries, a supplier response target of 24 hours can help reduce vehicle and production downtime.
Possible causes include:
Remove the seal and inspect both the lip and shaft. Do not assume that a new seal is defective before checking the mating surface.
A nominally matching size may still be wrong because of:
Use the original sample, dimensional drawing, VIN, and axle code together.
The pinion seal may not be the only problem. Inspect:
A worn yoke can cut the new seal lip. In that case, a repair sleeve or replacement flange may be necessary.
New gear noise may result from an incorrect pinion preload adjustment, low lubricant level, damaged bearings, or existing ring-and-pinion wear. A pinion oil seal should not be replaced without considering the condition of the entire differential assembly.
We recommend preparing a standard seal-identification kit containing:
For distributors and repair networks, a searchable product database should include dimensions, material, lip design, application, OE references, packaging quantity, and inspection records. This reduces order errors and improves repeat purchasing.
An experienced Automotive Oil Seal manufacturer can also support private labeling, custom packaging, drawing confirmation, sample development, and production scheduling for distributors and international buyers.
Dingtong provides oil-sealing solutions for automotive and industrial applications, including differential, pinion, axle, hub, and transmission sealing requirements.
When we evaluate a Nissan oil seal request, we focus on:
This engineering approach is more reliable than matching a seal by external appearance. It also helps Nissan Oil Seal Supplier customers reduce incorrect shipments, warranty claims, and installation-related failures.
As an Automotive Oil Seal manufacturer, we understand that international buyers need more than a product photograph. They need stable dimensions, repeatable material performance, clear communication, and inspection documentation. For development projects, providing a sample, drawing, and application data can significantly shorten the confirmation cycle.
Before ordering or installing a Nissan oil seal, confirm these points:
With these steps, repair professionals and buyers can distinguish Nissan Differential, Pinion and Axle Oil Seals: How to Tell Them Apart with greater confidence. Dingtong, as an Automotive Oil Seal manufacturer and Nissan Oil Seal Supplier, can help turn uncertain seal identification into a controlled, documented, and efficient replacement process.
Recent News
Xingtai Dingtong Rubber is a professional products co., Ltd. production and sales of seals enterprises. Founded in 1996, it covers an area of 23,300 square meters, 26 machines, and 3200 kinds of molds. Our products are often exported to North America, Asia, Europe, Northern Europe, Southeast Asia, South Asia, Asia, South America, Africa.
Oct. 23, 2026
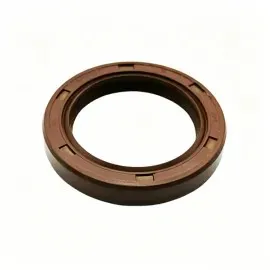
NBR, ACM, FKM or PTFE? Material Selection for Mitsubishi Oil Seals
When a Mitsubishi engine begins leaving a thin oil ring around the crankshaft or gearbox input shaft, the seal material is often the real decision—not the seal size alone. An Automotive Oil Seal manufacturer must match fluid chemistry, shaft speed, temperature, pressure, and installation conditions. This guide compares NBR oil seals for Mitsubishi, ACM Mitsubishi crankshaft seals, FKM
Oct. 23, 2026
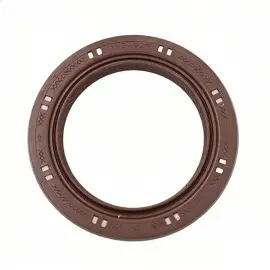
How to Specify Stepped Mazda Oil Seal Dimensions for an Accurate Quotation
When I request a quotation for a stepped Mazda oil seal, I do not send only the vehicle model or a photograph. I provide a complete dimensional and operating specification covering the shaft diameter, housing bore, seal width, step geometry, material, spring, temperature, and quantity. By following the practical six-step method below, you can prepare a quotation-ready drawing or data sheet in
Oct. 23, 2026
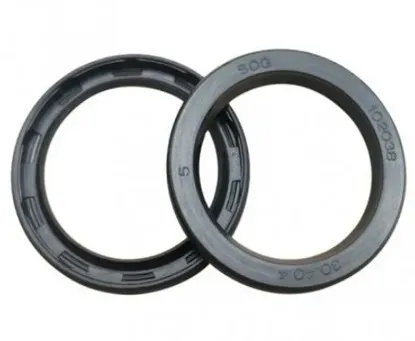
Nissan Differential, Pinion and Axle Oil Seals: How to Tell Them Apart
When a Nissan differential, pinion, or axle seal begins to leak, the fastest solution is to identify the seal by its location, dimensions, shaft function, and oil exposure—not by appearance alone. In this guide, we at Dingtong, an experienced Automotive Oil Seal manufacturer, explain a simple five-step method to identify the correct Nissan oil seal, confirm the replacement specification, avoid
Oct. 23, 2026
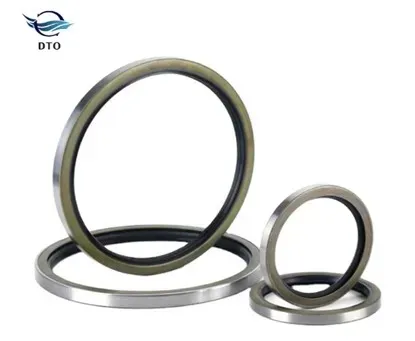
How to Identify Toyota Transmission Oil Seals by Installation Position
When I need to identify a Toyota transmission oil seal quickly and accurately, I follow four steps: locate the installation position, measure the seal and shaft, confirm the transmission code or OEM reference, and verify the seal’s rotation direction and material. This method helps workshops, distributors, and purchasing teams avoid incorrect replacements, reduce vehicle downtime, and obtain
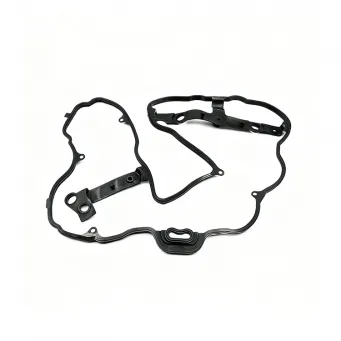
Sep. 28, 2026
Why Heat Resistance Is Critical for Automotive Engine Oil Seals
Engine oil seals play a vital role in the overall functionality of automotive engines, yet they often face significant challenges due to heat exposure. One major pain point for vehicle owners is the degradation of engine oil seals over time, leading to oil leakage and reduced engine efficiency. Without proper heat resistance, seals can fail, resulting in costly repairs and potential engine
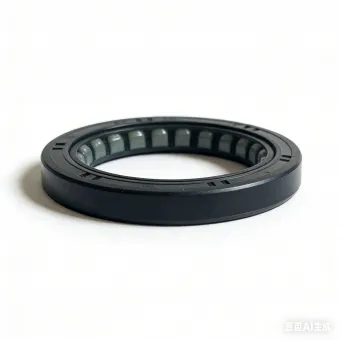
Sep. 28, 2026
How to Extend the Service Life of Automotive Oil Seals
When working with automotive oil seals, you're almost certainly faced with the constant challenge of ensuring they last as long as possible to maintain optimal performance and reduce costs. I can assure you, with a few practical steps, you can significantly extend the service life of your automotive oil seals. This guide will walk you through efficient methods to achieve this goal, ensuring a
You may like these products


